
Linocut Techniques Explained
My linocuts are made with different methods - jigsaw, multiblock, reduction… but what does it all mean? Here’s a detailed explanation on the different linocut techniques I often use.
Hopefully this is written in a way that’s easy to visualise and understand, and I’ve linked to some examples. You can also find a host of video demonstrations on my Instagram and Facebook pages. If you are completely new to linocut, I’d recommend reading my more general summary of how linocuts are made.
Single Colour Linocut
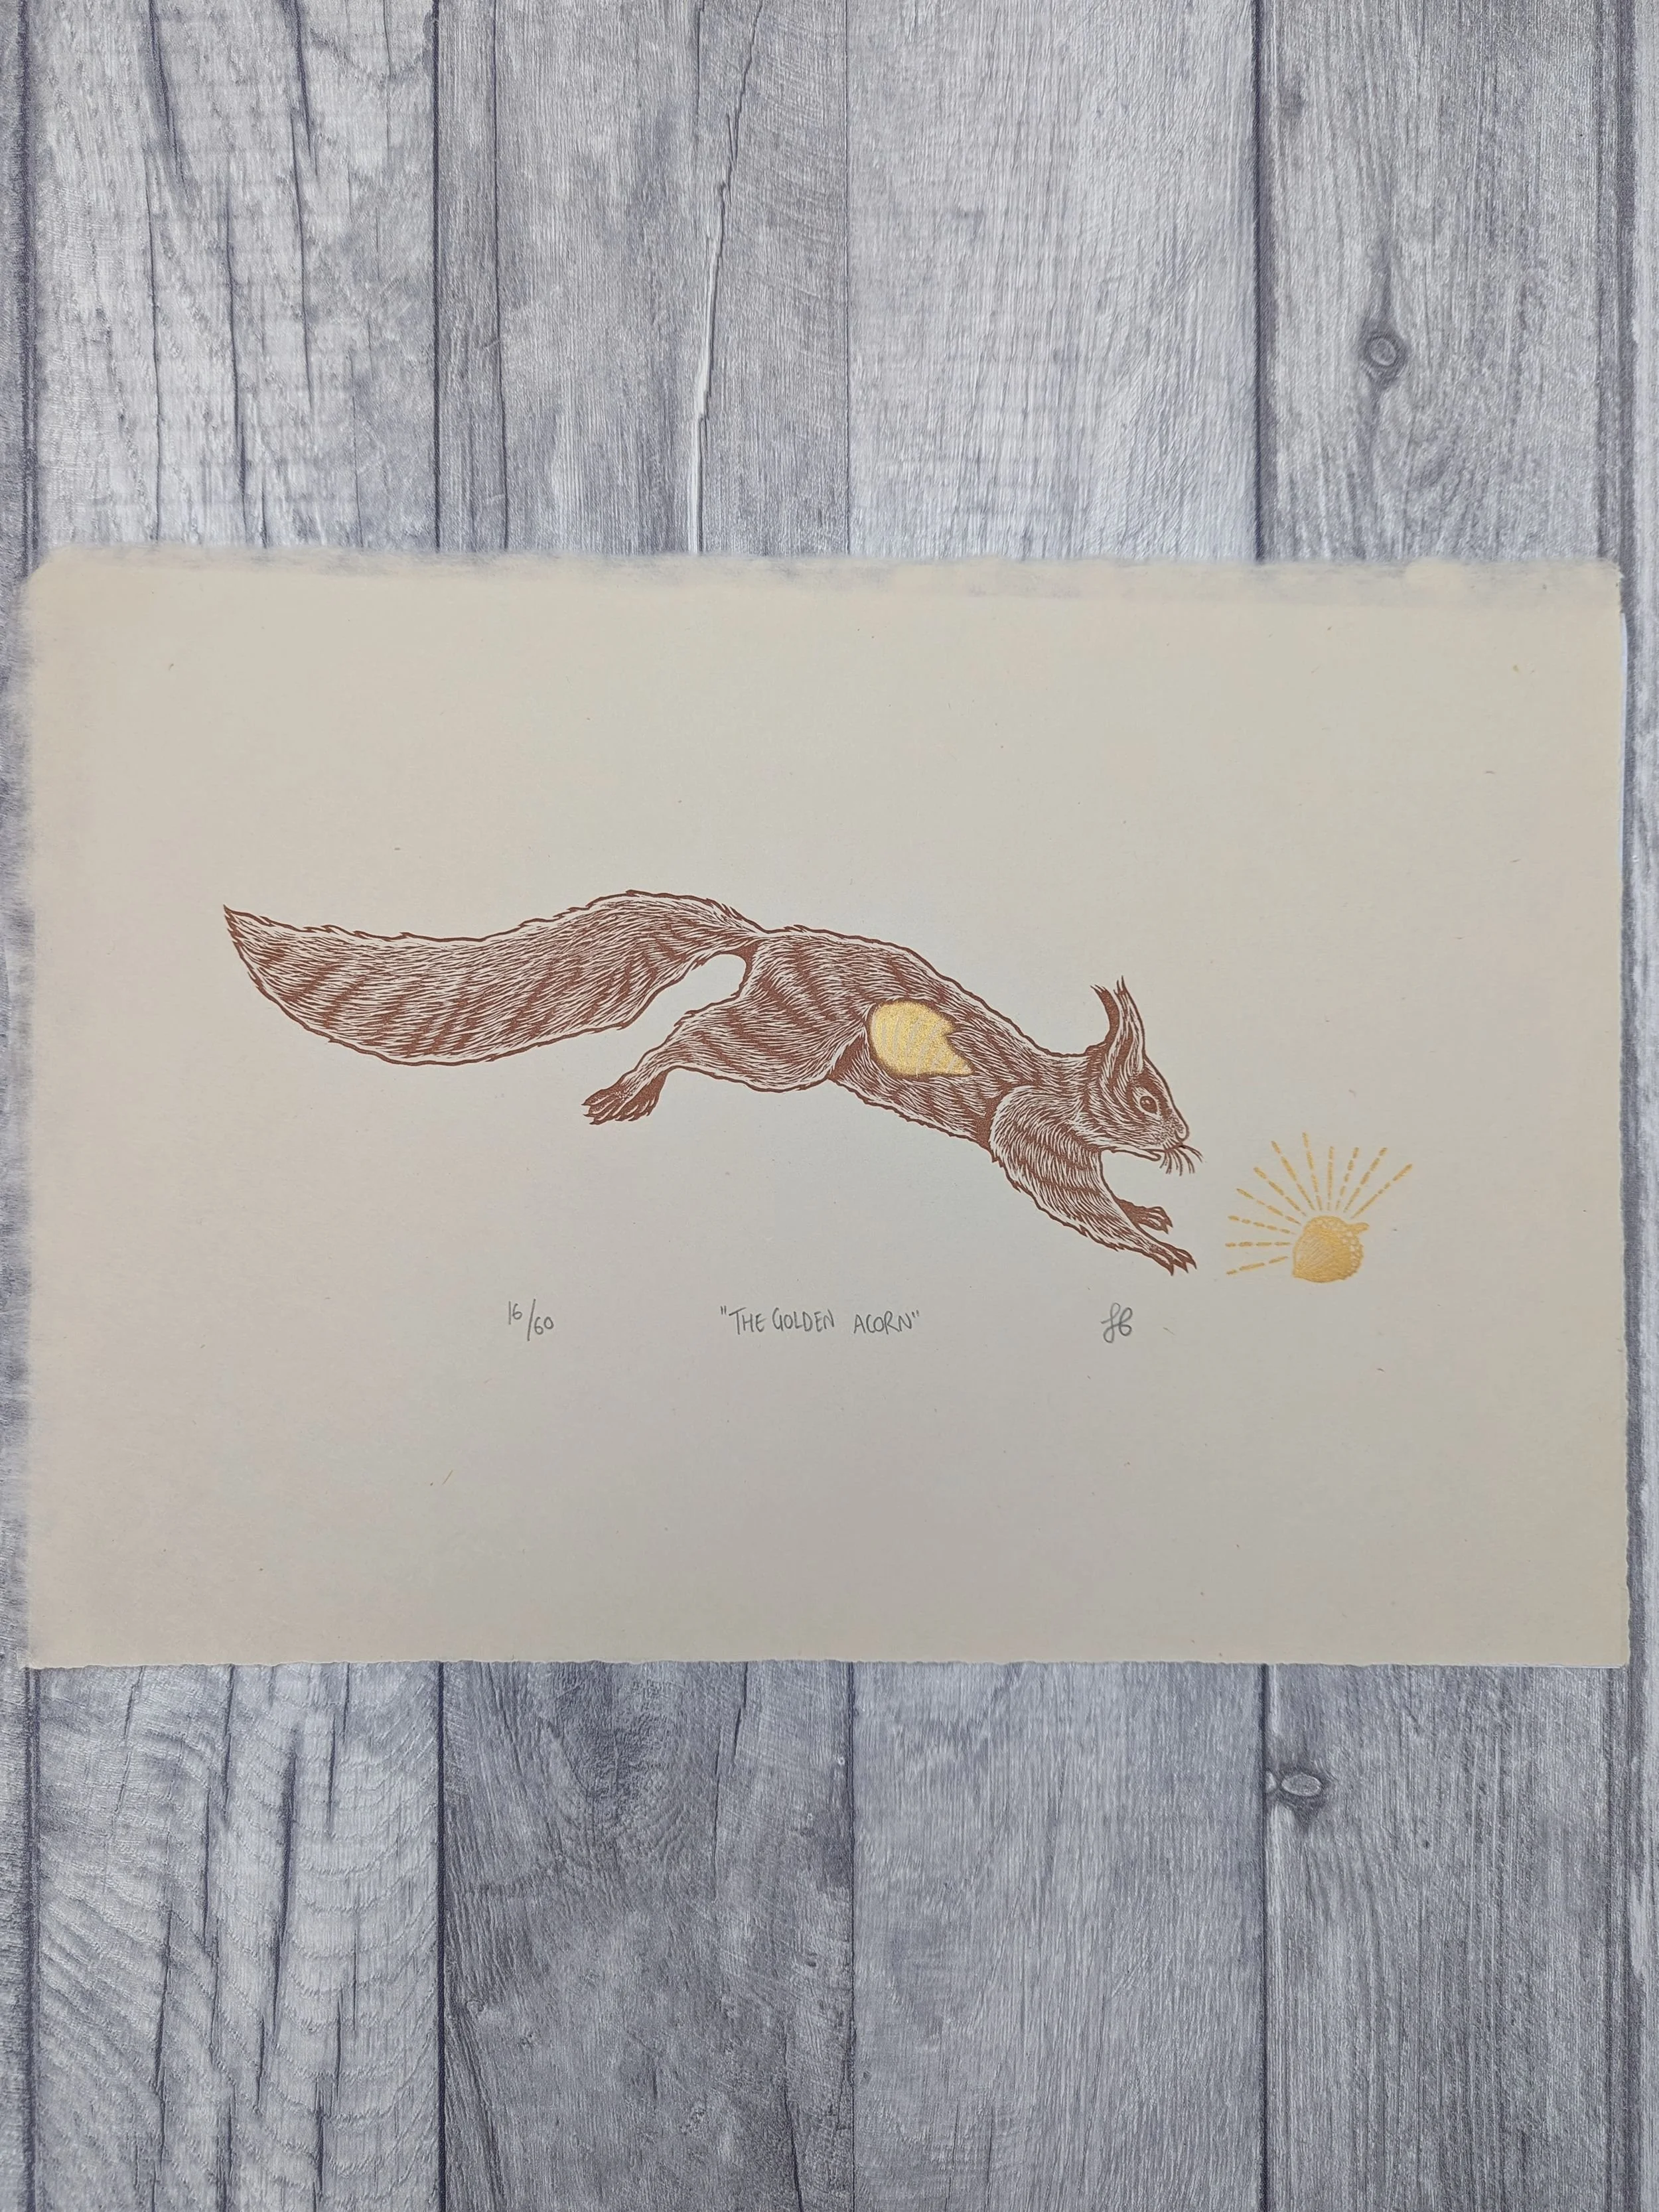
The simplest technique and the best for those just starting out with linocut. This method uses just one block to create one layer of colour.
The image is cut usually by removing the ‘white’ areas of the image. This allows the colour of the paper to show through in the print. The surface of the block is inked (usually in a dark colour) and transferred to the paper.
When designing a successful single colour linocut, it’s best to think in terms of negative and positive, or light and shadow. The choices you make in your marks can make all the difference. Being limited to one colour means you have to think carefully about your marks, so that your viewer receives all the ‘information’ they need in order to read the image correctly.
When the ink is wet, powdered pigment can be added to embellish the image. After the print has dried, some artists also like to apply some water colour paint by hand.
Here are some of my linocuts using the single colour technique:


Jigsaw Linocut
Same as single colour, but using multiple blocks of lino which are inked up in different colours and printed all at once.
Pieces are inked up separately in different colours and placed together into composition. The pieces can be laid apart making use of white space and allowing the viewer to fill in the blanks. Or they can be cut very snuggly to interlock tightly - just like a jigsaw puzzle.
When designing the image, the shapes of colour need to be taken into consideration. It’s best to keep shapes simple, without too many edges or ‘arms’ sticking out. With this technique, soft lino or vinyl make the pieces easier to cut, but it’s still possible to use harder linoleum (with a bit of elbow grease!).
It’s a great technique that offers the quick results of single colour, but with more depth thanks to the additional colours.
Here are some of my linocuts using the jigsaw technique:


Multi-block Linocut
For this technique, at least two blocks of lino are used, but the maximum amount is endless. Perhaps the most labour intensive technique, as it requires the most cutting.
Some planning in advance is required for this technique. First the number of blocks needs to be decided, usually this will be determined by the number of colours required in the final image. Secondly, the order of how it will be printed needs to be decided, sometimes it’s not as easy as printing light to dark. A precise registration device is also required for this technique.
One lino block is cut first, and this will be the ‘key block’ - normally the last block that will be printed to lock in the other layers. The key block is inked up, and printed onto paper. Keeping the paper registered, the key block is then swapped out for a fresh block, and the impression on the paper is placed back down. The image will be transferred from the paper to the new block, in the exact location as the key block. This is repeated on to however many blocks are required. By doing this, it provides an accurate outline to carve with, ensuring sharp registration between the layers. Each block is then cut for a specific colour.
When all blocks are finally cut, they can then be inked up in different colours and printed in order. Allowing each layer to dry before printing the next is advised, but not necessary.
Here are some of my linocuts using the multi-block technique:


Reduction Linocut
My preferred technique, but one that can take some time to complete. This technique uses just one block to create several layers of colour.
Some planning in advance is required for this technique. First, the number of colours or layers needs to be decided. Two is a minimum, but the maximum amount is endless. For beginners, it’s best to keep to just two layers, and work up to more layers as your skill improves. Secondly, the order of how the layers will be printed needs to be decided. This is usually from the lightest layer to the darkest. A precise registration device is required for this technique.
Determining the lightest layer of colour, the block is cut to represent this colour. When ready to print, it’s important to print as many impressions as required in the edition before moving on to cutting the next layer - and I advise printing a few extra.
Once the first layer is down, you then return to your original block and begin cutting into it for the next layer. Cutting away will allow the previous colour to show through under the next layer. When cut, the latest layer is printed on top of the previous layer in a contrasting or darker colour.
This process of cutting back into the block, and printing a darker colour each time, is repeated until all colours are printed. With each layer, more and more of the surface is cut away, until the block is ultimately destroyed.
Here are some of my linocuts using the reduction technique:


Multi-block combined with Reduction Linocut
The mother of all techniques, and probably one of the most difficult to master. It combines both the multi-block technique, with the reduction technique. By combining both methods, you can achieve an amazing depth of colour and tone.
It’s hard to determine how many blocks or how many layers there should or could be used with this technique. It’s best to keep loose and be open to adapting or changing your plan on the go. A precise registration device is required for this technique.
On trying this technique for the first time, register a key block and create your multi-blocks to focus on one colour at a time. Then use the reduction technique on each block for each colour. For example: for your blue multi-block, start at the lightest blue, and work your layers down to the darkest blue.
At an expert level, start once more with a key block, and repeat onto multiple blocks. Begin with your first block, layering semi-transparent colours on top of each other, slowly reducing the block. When that block is spent, start a new block with different tones and ranges of colour. Using semi-transparent ink will provide even more depth to your print.